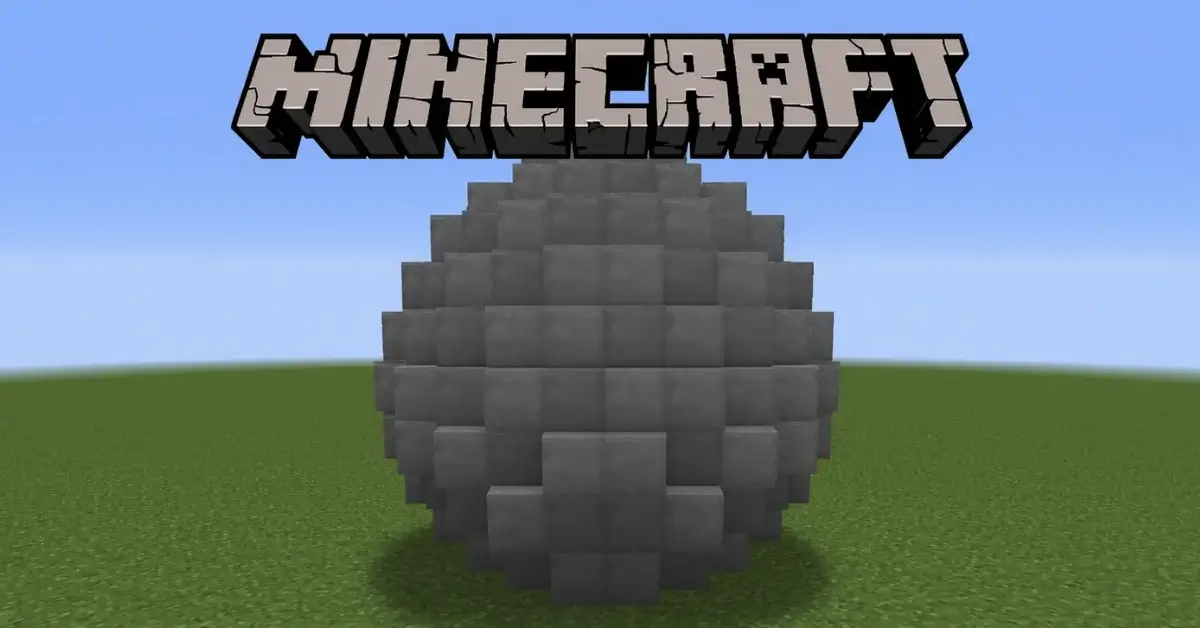
How to Build a Sphere in Minecraft Step by Step
Spheres look intimidating, but they’re really just circles stacked in a specific pattern. Here’s the full method — from planning the middle layer to closing off the top without a lopsided cap.
A sphere trips up more builders than almost any other shape, and it’s rarely because the concept is hard — it’s because most people try to build it the way they’d build a wall: bottom to top, one layer at a time, hoping it comes together at the end. Spheres don’t forgive that approach. Every layer’s size depends on where it sits relative to the center, which means you need to know the whole shape before you place the first block, not figure it out as you go. Once you build it in the right order, though, a sphere is genuinely one of the more mechanical 3D shapes in the game — there’s very little guesswork once the numbers are set.
What a sphere actually is, block by block
Strip away the 3D framing and a sphere is a stack of circles. The widest circle sits exactly in the middle — its diameter matches the sphere’s overall diameter. Every layer above and below that middle one is a smaller circle, shrinking the further it gets from the center, until the very top and bottom layers are just a single block each. The size of each layer follows a simple rule from geometry: the further a layer is from the vertical center, the smaller its radius, and the relationship isn’t linear — layers shrink slowly near the middle and much faster near the top and bottom.
That last part matters for building. It means the middle third or so of a sphere changes size gradually, layer to layer, while the top and bottom “caps” shrink fast — one layer might be a 7-block circle and the very next one just a single center block. Knowing that in advance stops the ending from feeling abrupt or wrong when it happens.
Step 1: Build the middle layer first, not the bottom
This is the step that separates a clean sphere from a lopsided one. The middle layer is the sphere’s widest circle, and it’s the one every other layer depends on for both size and alignment. Build it using the same anchor-point method as any circle — center point first, then the four extreme points, then the curve — and don’t move on until it’s centered and correctly sized.
Once the middle is down, work outward symmetrically: one layer above, then the matching layer below, alternating as you go. Building this way means any small error shows up immediately as an asymmetry between the top and bottom halves, rather than staying hidden until the whole shape is finished.
Step 2: Work out each layer’s radius before you place it
For a sphere with radius r, a layer sitting a height h away from the middle has its own radius, and that radius shrinks according to the Pythagorean relationship between the sphere’s overall radius and the layer’s distance from center — practically, it means near the middle the layers barely shrink from one to the next, and near the top and bottom they shrink fast. You don’t need to do this math by hand; it’s exactly what a layer-by-layer sphere generator calculates for you, showing each layer’s circle before you place a single block so you’re never guessing at a size mid-build.
Step through every layer automatically — enter a diameter and get each circle’s exact blueprint plus a running block total.
Open the Sphere GeneratorStep 3: Choose filled or hollow before you gather materials
A filled sphere is solid all the way through — simpler to place since there’s no interior to worry about, but it uses dramatically more blocks than a hollow one of the same size, and the difference gets bigger fast as the sphere grows. A hollow sphere only places blocks on the outer shell, leaving the interior open for a room, a light source, redstone, or simply air. Most large decorative spheres — floating orbs, planet builds, glass domes — go hollow, both to save material and because an open interior is often more useful than a solid one.
| Diameter | Hollow (approx.) | Filled (approx.) |
|---|---|---|
| 15 | ~380 blocks | ~1,700 blocks |
| 21 | ~750 blocks | ~4,800 blocks |
| 31 | ~1,650 blocks | ~15,600 blocks |
Numbers vary slightly depending on exact diameter and how the layers round, but the pattern holds: filled spheres cost roughly 3 to 10 times more material than hollow ones as size increases. Checking the total before you start gathering saves an unplanned mining trip halfway through.
Step 4: Support yourself while building upward
Once a sphere gets past roughly 25 to 30 blocks in diameter, reaching the upper layers accurately from the ground becomes difficult, and flying freely in creative mode makes it easy to lose track of exactly which layer you’re on. Temporary scaffolding — a disposable block column you can stand on and remove later — gives you a fixed, repeatable reference point for each layer, which matters more than it sounds like it should. Working from a stable platform also makes the anchor-point method from circle building much easier to apply consistently at height.
Step 5: Watch for the fast-shrinking cap
The last three or four layers before the sphere closes at the top (and the mirrored layers at the bottom) shrink noticeably faster than the layers near the middle. This is completely normal geometry, not a mistake, but it catches builders off guard if they haven’t planned for it — a sphere that looked like it was progressing smoothly can suddenly jump from an 11-block layer to a 5-block layer in one step. Expect it, and the cap reads as a natural, rounded closure instead of looking like the shape ran out of room.
Choosing a block palette that actually reads as round
A sphere built entirely in one block often looks flatter than expected once it’s finished — Minecraft’s lighting shades each face of a block the same way regardless of where it sits on the curve, so a single material can’t fake the gradual light-to-dark falloff a real sphere shows. Builders who want a more convincing result usually build the shape first in one placeholder block to confirm it’s correctly round, then go back over it with a two- or three-tone palette: a lighter block on the upper, sun-facing rows, the base material through the equator, and a darker variant underneath.
You don’t need custom textures for this — several vanilla block families already come in matched light-to-dark sets, which makes the swap fast once the shape itself is confirmed correct.
Keep the transitions gradual — three broad shading bands read as intentional lighting, while blocks scattered randomly across the surface just look noisy. This step is entirely optional; a single-material sphere is still a correct sphere, this just pushes the finished look closer to photorealistic shading.
Common sphere-building mistakes
- Starting from the bottom instead of the middle — the top and bottom halves end up misaligned because neither one was built against a fixed, already-correct reference.
- Losing count of the current layer — easy to do without scaffolding or a written-down layer list; a sphere generator’s layer readout solves this directly.
- Committing to filled mode on a large sphere without checking the block count first — the material jump from hollow to filled is much bigger than most builders expect.
- Building freehand instead of mirroring the middle layer’s quadrant pattern into every other layer — each layer is still a circle, and circles still benefit from the quadrant-mirroring method.
What spheres are good for
Spheres show up constantly in ambitious Minecraft builds: glass orbs sitting on top of towers as observation decks, planet-style decorations, magical fantasy cores with a light source at the center, futuristic architecture paired with cylinders and rings, and — cut in half — as the dome roofs covering everything from gazebos to entire arenas. Once you’ve built one sphere correctly, the dome half of the same shape is considerably easier, since you’re only building the top half of a pattern you already understand.
Frequently asked questions
Can I build a sphere in Minecraft without a mod? +
Yes. Every sphere is just a stack of circles, and each circle can be placed by hand once you know its size. A sphere generator does the calculation for you, but the building itself never requires WorldEdit or any other mod — those tools just save time on very large spheres.
What’s the largest practical sphere to build by hand? +
Most survival builders stay under 40–50 blocks in diameter, since past that point the layer count and material total climb fast and tracking your position by hand gets error-prone. Larger spheres are still possible with scaffolding and a second-screen layer reference.
Should I use an odd or even diameter for a sphere? +
Odd diameters give you a single center block on the middle layer, which most builders find easier to align against. Even diameters have a four-block center instead, with no true single midpoint. Both work; odd is usually the more forgiving choice for a first sphere.
Does this method work the same in Bedrock Edition? +
Yes. Java and Bedrock use the same block grid, so every layer size and the overall shrink pattern are identical between editions. The only differences are in optional tools like command syntax, not in the sphere’s geometry.
1 thought on “How to Build a Sphere in Minecraft Step by Step”