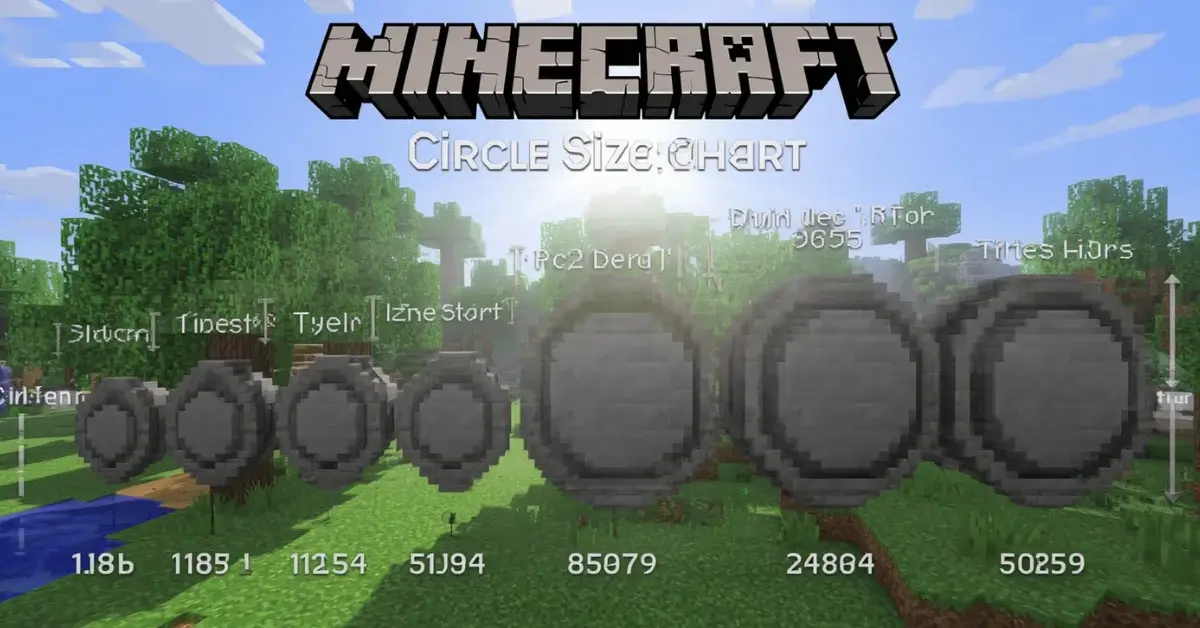
Minecraft Circle Size Chart — Best Diameters for Towers, Wells & Arenas
Picking a circle size by feel usually means guessing, building, and redoing it once the proportions look wrong in context. This chart skips the guessing — matched to real build types, with the reasoning behind each range, shown visually.
A circle’s diameter isn’t just a number — it decides whether a tower reads as a watchtower or a keep, whether a well looks like a garden feature or an oversized crater, and whether an arena floor gives fighters room to move or crowds them into the walls. Below is a working reference for the diameters that consistently produce good proportions, along with the practical reasoning for each range rather than just a number pulled from nowhere.
Bar length is proportional to diameter — a quick visual sense of scale before checking the full table below.
The full reference chart
| Diameter | Build type | Why this size works |
|---|---|---|
| 3–5 | Fence posts, lamp bases, tiny decorative rings | Below 7 blocks, a circle reads as a diamond or octagon rather than round — fine for small accent details where the shape isn’t the focal point. |
| 5–7 | Wells, small ponds, garden features | Large enough to read clearly as circular, small enough to fit naturally into a village layout without dominating it. |
| 9–11 | Narrow watchtowers, single-room huts | The first range with enough interior space for a ladder or single stair column, while staying visually “narrow” and defensive. |
| 13–15 | Standard towers, small rooms, gazebos | Enough floor space for basic furniture and movement without excess wasted interior — the most commonly used range for general-purpose round rooms. |
| 17–21 | Large towers, domes, mid-size plazas | Comfortably smooth curve at normal viewing distance, with real usable interior square footage per floor. |
| 25–31 | Small arenas, coliseum floors, monument bases | Enough space for multiple entities or players to maneuver, still buildable in a single work session. |
| 41–61 | Large arenas, stadium fields, mega-tower bases | Needs a genuine material and time budget, but proportions read as intentionally grand rather than just “big.” |
| 70+ | Landmark structures, city centerpieces | Diameter stops being the limiting factor here — available materials and build time matter more than the exact number chosen. |
Why 7 blocks is the rough cutoff for “looking round”
Every circle in Minecraft is built from square blocks, which means there’s always a small rounding gap between the shape you’re building and a true mathematical circle — a difference some builders call the circle’s delta. That gap stays roughly constant in absolute terms as diameter changes, but it takes up a much bigger share of a small circle’s total size. Below about 7 blocks, that gap is large enough relative to the whole shape that the result reads as an octagon or diamond rather than a circle. This isn’t a flaw in any specific building method — it’s true whether the circle is placed by hand, generated by a tool, or built with a mod command. It’s simply a property of approximating curves with a fixed grid of squares.
Towers: matching diameter to purpose, not just looks
A 9–11 block tower is genuinely narrow inside — usually just enough room for a ladder or a single spiral stair column, which is exactly the point for a watchtower or a defensive structure where interior space isn’t the priority. Stepping up to 13–15 blocks adds enough floor area for a small room with furniture, a chest, a crafting table, and still leaves walking space. Past 17 blocks, a tower starts feeling less like a tower and more like a round building — which is a legitimate design choice, but worth being intentional about rather than defaulting to a large diameter out of habit.
Wells, ponds, and small water features
Most wells and small decorative ponds work best at 5 or 7 blocks in diameter. Going smaller risks the octagon-shaped rounding described above; going much larger starts to look disproportionate next to the houses and paths typically surrounding it in a village-style build. This is one of the few cases where “bigger is more impressive” doesn’t hold — a well that’s too large stops reading as a well and starts reading as a pond or a crater.
Check the exact block count and curve for any diameter on this chart before committing materials.
Open the Circle GeneratorArenas and coliseums: space to move matters more than looks
An arena floor has a functional requirement a decorative circle doesn’t: entities and players need enough room to move without immediately colliding with a wall. A 25–31 block floor is a reasonable minimum for a small PvP or mob-fighting arena. Anything smaller tends to turn combat into a cramped, unintentional corner-fight rather than an actual arena experience. Coliseum-style builds with tiered seating around the fighting floor generally need 41 blocks or more just for the floor itself, before the seating rings are added outward from it — a full coliseum build with seating can easily exceed 70–90 blocks across including the outer wall.
Odd or even — does the chart above assume one or the other?
The diameters listed here work as either odd or even numbers; the choice depends on what needs to sit at the center of the build. An odd diameter (9, 11, 15, 21) gives a single center block, useful for a beacon, a ladder core, or a central decorative piece. An even diameter (10, 12, 16, 22) gives a two-block center line instead, better suited to symmetrical double doors or a build with no single focal point. Either works at any size in this chart — pick based on what the center of the build actually needs, not the number itself.
When the chart stops mattering
Past roughly 60–70 blocks in diameter, the specific number matters far less than the practical constraints of the build — available materials, the time investment required, and how the circle fits with everything already built around it. At that scale, every reasonable diameter reads as smooth and intentional; the deciding factor shifts from “does this look round” to “do I have the resources and patience for this,” which is a different question the chart above isn’t really designed to answer.
A note on filled vs. outline at each size
This chart assumes an outline (ring) shape unless otherwise noted, since that’s the more common use case for towers and arena walls. A filled circle at the same diameter uses substantially more material — often four to six times as many blocks once the diameter passes 20 blocks — so checking the exact block count before deciding between filled and outline mode matters more at the larger end of this chart than at the smaller end, where the difference is only a handful of blocks either way.
How these ranges were determined
The ranges above aren’t arbitrary — they come from two practical constraints that apply to every circular build regardless of theme or block palette. The first is the rounding behavior described earlier: below roughly 7 blocks, a circle can’t avoid reading as an octagon, which sets a hard floor under any diameter meant to look genuinely round. The second is functional space — a build’s interior needs to accommodate whatever it’s meant to hold, whether that’s a ladder, a bed, a crafting station, or room for entities to move without colliding with walls. Cross-referencing those two constraints against common build types is what produces the ranges in the chart, rather than picking round numbers that simply “feel” right.
Testing a size before committing materials
Because gathering blocks for a large circle can mean a genuine mining trip, it’s worth confirming both the shape and the total block count before starting. A generator that shows the finished grid and a running total removes the guesswork entirely — you see exactly how many blocks a given diameter needs in outline or filled mode before a single block leaves your inventory. This matters more the larger the build gets: the difference between a 21-block and a 25-block circle looks small on paper but adds up to dozens of extra blocks once outline thickness and rounding are accounted for.
Combining sizes for multi-part builds
Many builds use more than one circle at different diameters working together rather than a single isolated shape. A tower and its surrounding courtyard wall, for example, often use two concentric circles — a narrow 11-block tower base inside a much wider 31-block outer wall, with open space between them. Keeping every circle in a multi-part build to either all-odd or all-even diameters makes the whole layout easier to center consistently, since mixing odd and even circles around the same shared center point means one or the other won’t align to a clean middle block or line.
Scaling a design up or down
If a build looks right at one size but needs to be bigger or smaller for a specific location, doubling or halving the diameter rarely preserves the same proportions, because interior floor space scales with the square of the diameter, not linearly with it. A 15-block tower doesn’t have twice the usable floor space of an 11-block one — it has closer to double, since area grows faster than diameter. This is worth checking before assuming a “bigger” version of an existing design will feel proportionally similar; it’s often better to re-check the new size against the reasoning in this chart rather than simply scaling a known-good diameter up by a fixed amount.
Using this chart alongside the interactive generator
This chart is deliberately a starting reference, not a replacement for checking the actual shape before building. Once a diameter range feels right for a project, opening it in the interactive circle generator confirms the exact block pattern, the precise block count for outline or filled mode, and whether an odd or even version of that size fits the build’s center-point needs. Treating the chart as the “which range” decision and the generator as the “confirm the exact number” step keeps both tools doing what they’re actually best at, rather than trying to eyeball a final diameter from the chart alone.
A few real-world reference points
For builders who find abstract block counts hard to picture, comparing a few diameters to familiar real-world scales can help: a 9-block circle is roughly the footprint of a small garden gazebo, a 21-block circle is in the range of a modest single-family home’s footprint, and a 41-block circle starts to approach the scale of a small public building or a modest sports court. These comparisons aren’t exact conversions — Minecraft’s block scale doesn’t map perfectly to real-world measurements — but they’re a useful gut check when a number on a chart feels abstract until it’s tied to something familiar. Keeping a mental note of a couple of these reference points makes it much faster to pick a reasonable starting diameter the next time a new build calls for a circle, without having to re-read the full chart from scratch each time, and it makes explaining a planned size to another builder on the same project noticeably easier too.
Frequently asked questions
What is the best circle size for a Minecraft tower? +
9 to 15 blocks covers most towers. 9–11 blocks suits a narrow watchtower with room for just a ladder or stair column; 15 blocks gives enough space for a small usable room.
How big should a Minecraft well be? +
5 to 7 blocks in diameter is standard — large enough to read as round, small enough to fit naturally into a village or courtyard.
What size circle is needed for an arena or coliseum? +
A minimum of 31 blocks for a small arena floor, with 41 to 61 blocks giving more realistic proportions for a coliseum-style build with tiered seating.
Why do circle size charts stop being useful above a certain diameter? +
Past roughly 60–70 blocks, the exact diameter matters less than the material and time budget available, since the shape reads as smooth regardless of the specific number chosen at that scale.